Find Out the Most Awesome Yet Creative Lanyard Patterns

Get ready to take a trip down memory lane! Remember those awesome lanyards we used to make at summer camp? Hold onto your hats because lanyards have taken a significant upgrade since then!
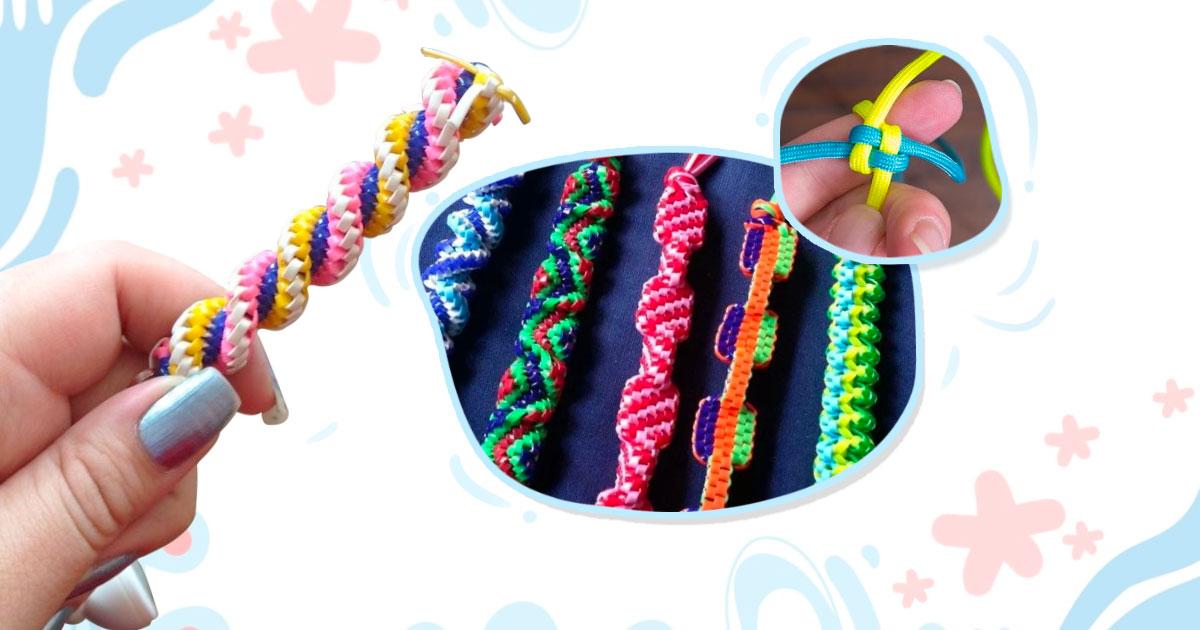
The coolness factor of these knotted summer crafts has skyrocketed. They go by many names like scoubidous, scoobies, boondoggles, scooby doggles, gimps, and rexlaces (just try googling them, it’s a wild ride!). Made from flexible, vibrant plastic strips, they result in awe-inspiring designs.
How to Make Lanyards – The Supplies You Need
Before we jump into the lanyard design ideas and patterns, let’s start with the essentials of making lanyards, shall we? You’ll need some lanyard cords to kick off your crafting adventure. Now, here’s a handy list of highly-rated supplies.
We have the perfect recommendation if you’re just starting or shopping for a kid who might stick with something other than lanyard crafting. Feast your eyes on this incredibly affordable 20-color lanyard kit. It has everything you need to create a whopping 20 different lanyards and the best part? It’ll only set you back around $11. Talk about a steal!
Now, if you’re ready to take things up a notch and go all out with your cord selection, brace yourself for the options available in making lanyards:
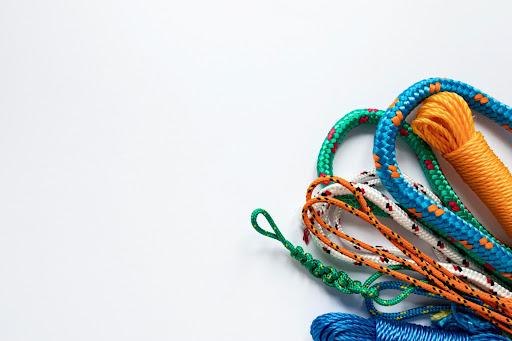
- Get your hands on some colorful lanyard cords, also known as plastic lacing cords. There’s a fantastic 10-color pack that’s ideal for the basics.
- Are you feeling bold? Opt for a neon-colored lanyard cord and make a vibrant statement.
- Want your lanyards to stand out even in the dark? Check out the reflective lanyard cord kit, or go for a touch of metallic flair with the metallic lanyard cord kit. Plus, the kits come with clips to make your life easier. Alternatively, you can buy the clips separately.
- Keep it classic with the trusty lanyard snap clip hooks, available in sleek stainless steel.
- Prefer a different style? Consider lobster snap hooks. Choose chrome, brass, or a “rose gold” hue.
- Need a touch of versatility or planning to create wider lanyards? Look no further than the swivel lobster snap hook with a key ring. It’s got you covered!
So prepare your supplies and unleash your creativity with lanyard crafting like never before!

Time To Make Some Lanyard Patterns
Once your materials are ready, it’s time to unleash your creativity by making some lanyard patterns and making loads of lanyards. Here are some lanyard patterns and lanyard designs you might consider doing:
1. Square or Box
One of the famous lanyard patterns you must not miss is the Square or Box pattern. Cross two strands of lanyards in the middle to create the box stitch. Now, it’s time to bring in the loops. Create a loop by crossing the two ends of the bottom strand over the top one. Then, weave the remaining two strands over and under the loops, securing the stitch with a satisfying tug.
While the box stitch forms a neat square shape, it can sometimes feel predictable. That’s where the circle stitch comes to the rescue! Injecting excitement, the circle stitch occasionally adds a half-twist, breaking the monotony and introducing captivating spirals into your lanyard creations.
2. Butterfly
If you are looking for a lanyard pattern that can make lanyards more exciting, start creating butterfly patterns. This pattern is crafted using a series of slip knots, making it a breeze to master. Here’s how it works: knot two strands of lanyard together, create a loop with one strand, slide a loop made from the other strand through it, tighten the first loop, and repeat this process until your lanyard reaches your desired length.
What makes the butterfly pattern truly special is its versatility. Since it lays flat, bends easily, and doesn’t add bulk, it’s the go-to pattern for creating stunning bracelets. Imagine adorning your wrist with a bracelet made using this elegant pattern —talk about a fashion statement!
3. Cobra
Adding to the list of lanyard designs is the Cobra lanyard pattern. Prepare to unravel the mystery of the cobra pattern, a mesmerizing series of knots that will take your lanyard crafts to a whole new level. Picture this: three or more strands of lanyard woven together, with a central strand acting as the anchor. Let’s dive into how this captivating stitch works.
First, knot your lanyard strands together and focus on the outer strands. Take one of the outer strands and loop it over the central strand. Then, lift the other outer strand over the end of the first strand, guide it behind the main strand, and bring it up through the loop created by the first strand. Tighten the knot and keep going. Each knot adds to the intricate beauty of the cobra pattern.

4. Triangle
The triangle lanyard pattern is a captivating technique combining elements of the circle and box stitches. Using three strands of lanyard, you start by knotting them together. Then, you create a loop with one strand, loop a second strand over the first, and weave the third strand over and under the others to form a triangle shape.
By alternating the order of the strands, you can achieve a box stitch-like appearance with different colors in straight lines. However, if you repeat the colors in the same order, the stitch will twist, resembling the circle stitch.
5. Circle
Get ready to spin some lanyard magic with the captivating circle and barrel stitch. It’s time to take the classic box stitch and unleash your best lanyard designs.
Here’s how it works: just like the box stitch, you start by creating loops with your lanyard strands. However, you should not bring the loops together in a straight line. This simple adjustment transforms the stitch into a mesmerizing circle shape, with the two colors of lanyards swirling in a beautiful spiral. Prepare to be amazed as your creation takes a dynamic and eye-catching form.
It’s Time to Make Lanyards!
Now that you know some of the lanyard patterns, it’s time to make your lanyards and discover more. If you know more lanyard designs, share them here!

